What can you do to reduce stormwater runoff?
DIY Home Improvements: Rain Barrels & Rain Gutters
One easy way to help protect lakes, rivers is to collect rainwater in mosquito-proof containers, known as rain barrels.
The collected water can be used to water your lawn or garden. Whatever options you choose, keeping stormwater off hard surfaces and allowing natural infiltration will protect drinking and recreational waters and possibly even save you money.
Install a Rain Barrel
To ensure that stormwater is running into proper drainage areas, check that downspouts are directed away from your home’s foundation.
Downspouts should also end on grass or another place where it can be absorbed. Downspouts should not end on an impervious surface, such as your driveway.
Your home may have a downspout that is directly connected to a storm drain system. This piping can be altered and redirected by cutting the existing pipe and then installing a new downspout elbow with extension.
Before beginning this project, make sure that you have proper safety equipment, including protective goggles and gloves.
Supplies
- 55 gallon plastic drum
- 3/4″ brass hose bibb (faucet)
- 1 1/4″ nylon hose barb
- 1 1/4″ sump pump hose, 6′ long
- Plastic plant pot, 9″ round
- Fiberglass window screen
- Section of a bicycle tire tube
Tools
- Saw
- Drill
- 5/8″ hole saw (for nylon hose barb)
- 1″ hole saw (for faucet)
- Utility knife or rasp to scrape/file away burrs on the cut hole
Step-by-Step Instructions
- Drill a small hole in the center of the barrel cap.
- Use the widest part of the flower pot as a stencil to draw a circle on the barrel cap.
- Use stencil to cut a hole from the cap.
- Remove cap and place window screen over the open barrel, secure with cap.
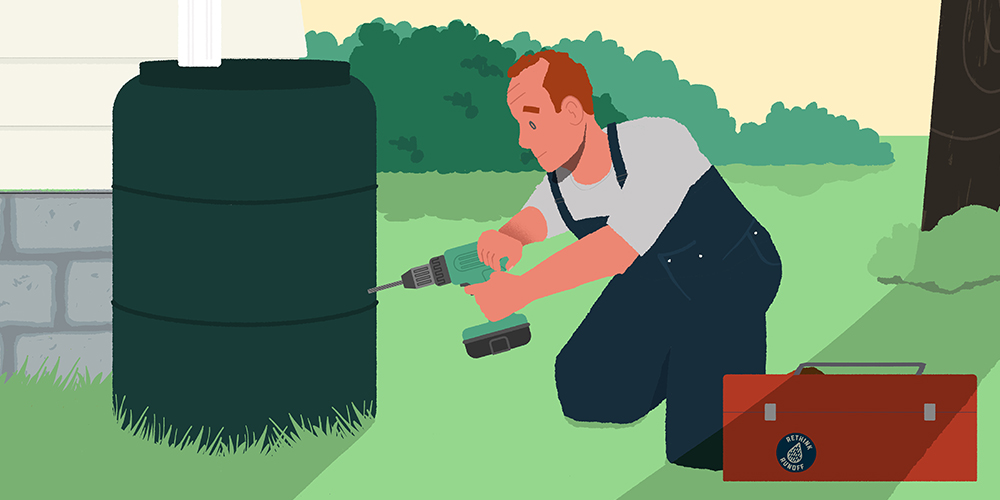
- Drill hole for faucet about 2 inches from bottom of barrel with 1-inch hole saw. Wrap plumbers tape around the hole and secure the faucet to the barrel.
- Drill hole at top of side with 5/8th” hole saw. Secure hose barb to barrel with screws.
- Position the rain barrel in a secure position near the gutter (rain barrel is heavy when full).
- Cut the gutter about 6? higher than the top of the barrel.
- Add on the elbow joint facing the opening of the barrel, use the needle-nose pliers to crimp the two pieces together.
In the fall, empty your rain barrel and store upside down to keep the barrel from cracking.
Redirect your Downspouts
To ensure that stormwater is running into proper drainage areas, check that downspouts are directed away from your home’s foundation.
Downspouts should also end on grass or another place where it can be absorbed. Downspouts should not end on an impervious surface, such as your driveway.
Your home may have a downspout that is directly connected to a storm drain system. This piping can be altered and redirected by cutting the existing pipe and then installing a new downspout elbow with extension.
Before beginning this project, make sure that you have proper safety equipment, including protective goggles and gloves.
Supplies
- Gutter elbow joint
- Downspout extension
- Sheet metal screws
- Cap for old standpipe
- Backsplash
Tools
- Fine-tooth hacksaw
- Needle-nose pliers
- Screwdriver
- Drill with twist-drill bit
Step-by-Step Instructions
- Cut the existing downspout about 9” from the bottom with the hacksaw.
- Remove cut section from area.
- If you have a standpipe, use a plug with a wing nut or expansion plug to block the waterway.
- Attach the elbow joint to the new end of your downspout with the elbow going over the downspout.
- Use the needle-nose pliers to crimp the two pieces together.
- Secure the elbow with the sheet metal screws on opposite sides, holes may need to be pre-drilled.
- Install extension by sliding it over the elbow.
- Secure extension with sheet metal screws.
- Position the extension at least 5 feet from the foundation of your home.
- If you choose, add the backsplash at the end of the extension to help prevent lawn or soil erosion.